Problem solving
How to break down problems to small testable phases
Solving complex problems can be difficult. Usually we have some initial assumptions about the problem and a good place to start is by validating your assumptions. Early. A quick way to do that is with a prototype (in this case a paper prototype).
So in January I wanted to start improving my exercise habits (just like 50% of the population). And I set a goal to exercise more frequently. My assumptions for failing before in that was:
- I had too high standards of what counts as an exercise
- I lost the momentum after certain amount of weeks and the habit would just gradually fade away.
So to tackle the first point I decided that the exercise does not have to be always a 2h workout at the gym. It can be 20min of yoga or maybe 3km walk. Anything goes, as long as it’s conscious decision (so accidental x000 steps is not a workout).
For the second part, I wanted to make it visible. I wanted a visual cue that I see every day that reminds me that “Hey remember that new year’s resolution? You have not worked out today have you?”
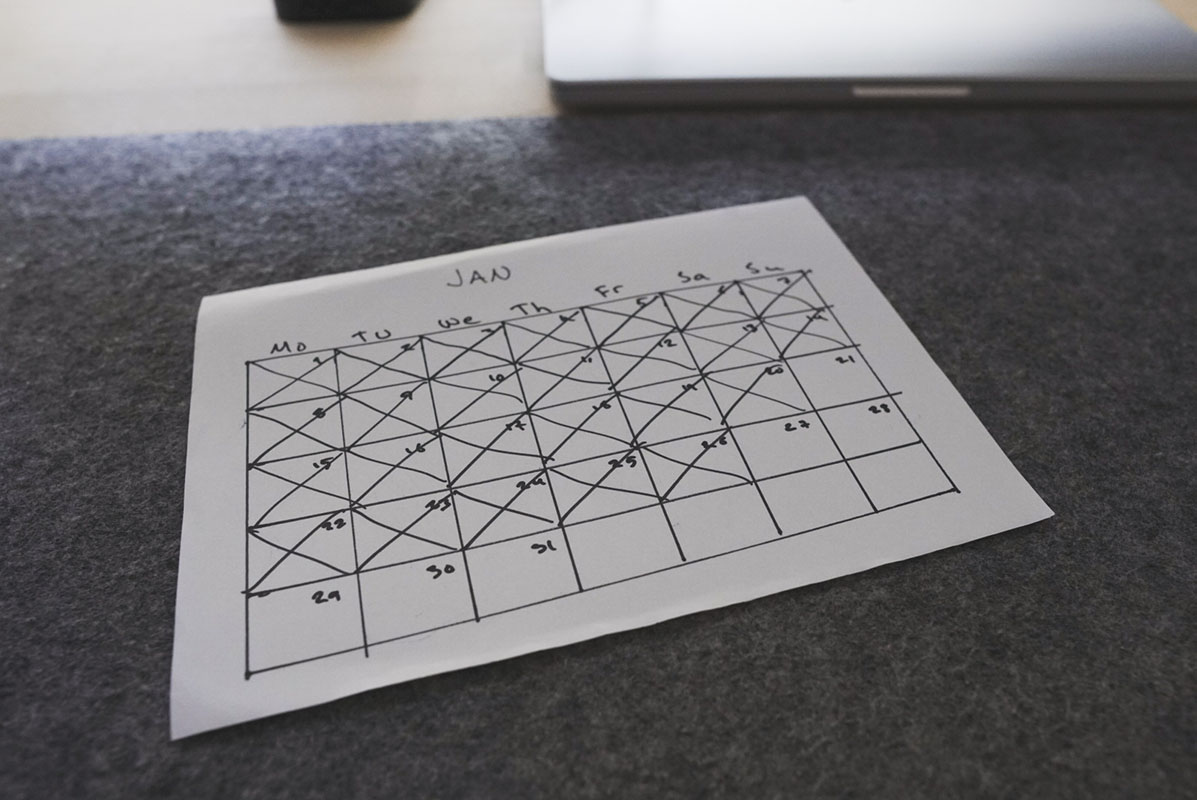
First Experiment
So the first prototype was a simple paper calendar with an X on days that I have excercised. I kept it on my desk and I think it worked really well, keeping training on top of mind. Couple small hickups here and there, but I’d say that January was a success 💪. So I decided to continue the experiment.
Second Iteration
This time I didn’t want to draw out the calendar (since I’m lazy). So what I did instead was taking the prototype to the next level.
1. The 3D Modeling
I designed a simple 3D model in Fusion360 that can hold small calendar pieces on it. It should be able to carry 12 papers (one for each month) and be reasonably pretty to look at on a desk every day.
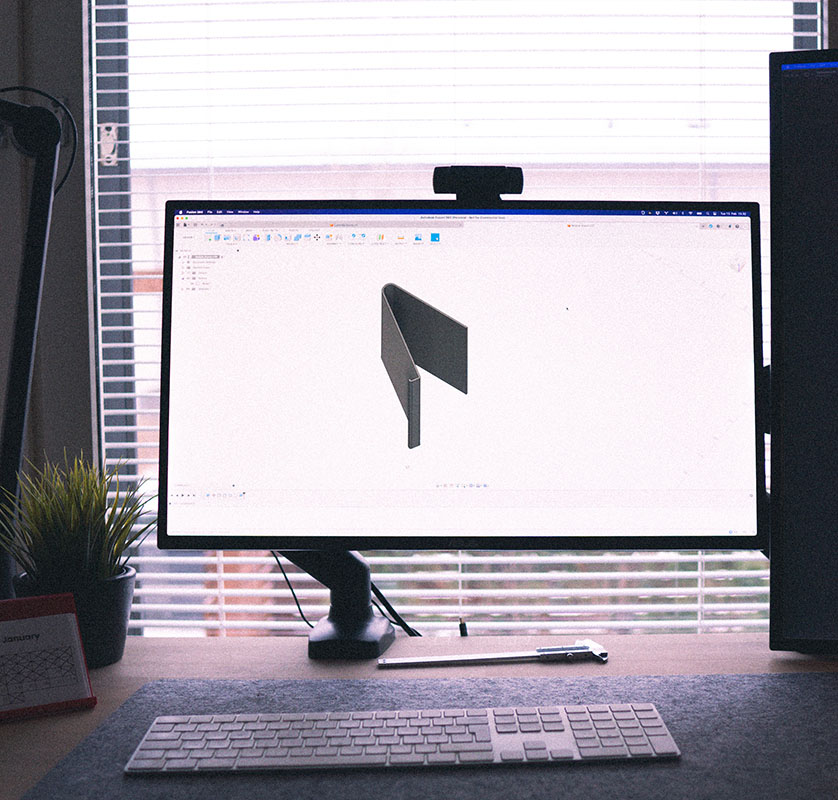
2. The Calendar
I then built a website that draws out all months in a clean grid with correct weekdays and a print-css to fit everything neatly on a A4 paper. Then I cut the months to small squares to put on the calendar stand.
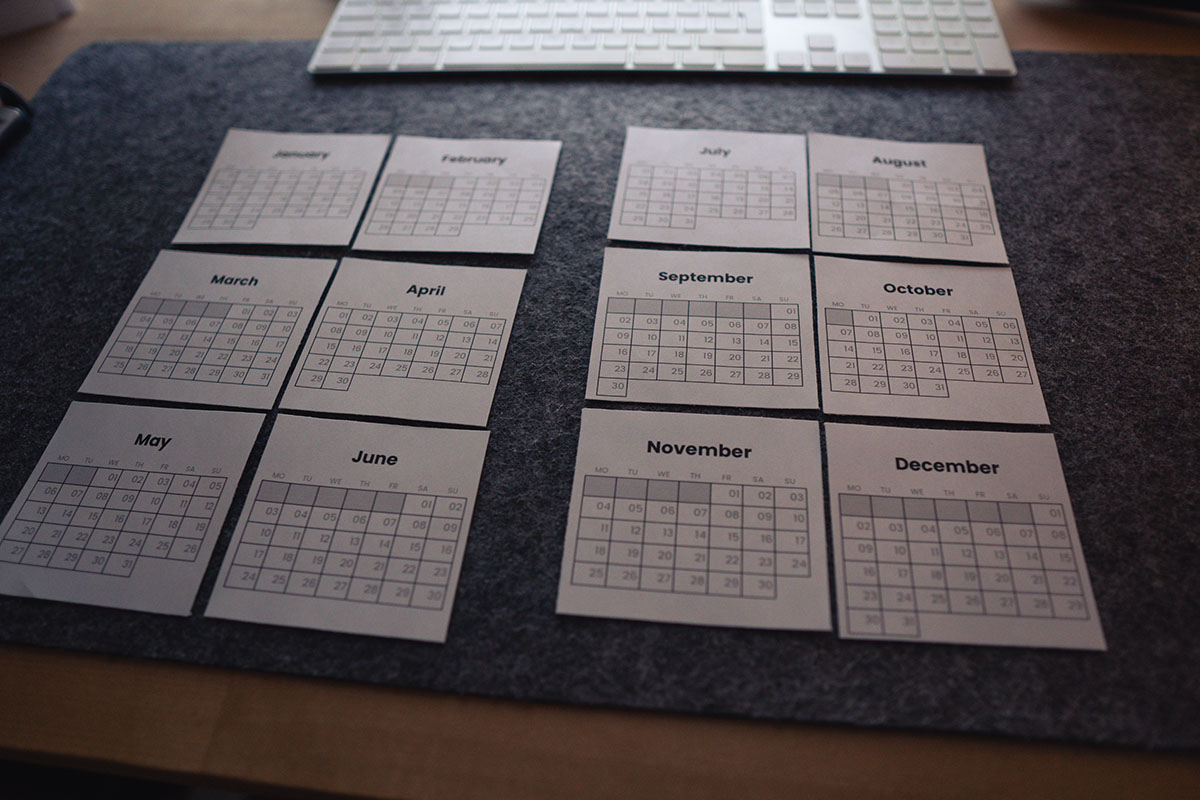
3. The Assembly
I then printed out the 3D model and put the calendar pieces on it and Voilà!
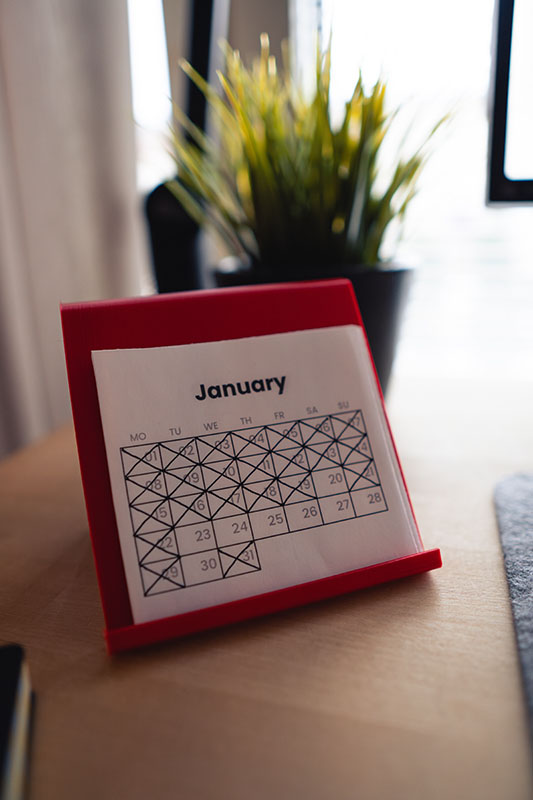
Third Iteration
I noticed that when I was moving from January to February that I felt like I lost a little bit of the momentum that I had gained during January. It felt frustrating to look at the empty month with zero X’s on it. So I decided to iterate on the design a little bit.
I modified the 3D stand to be a little over twice the size of the old one, so that it could hold 2 months side-by-side. That way I could still see the work I had done during previous month keep the momentum going. I also added holes for a “standard cabinet shelf bracket support” -thingie. The holes were measured to be in the same distance as a standard hole puncher tool makes them. This way I could basically hang the papers on the stand and it would stay still and aligned with the other papers.
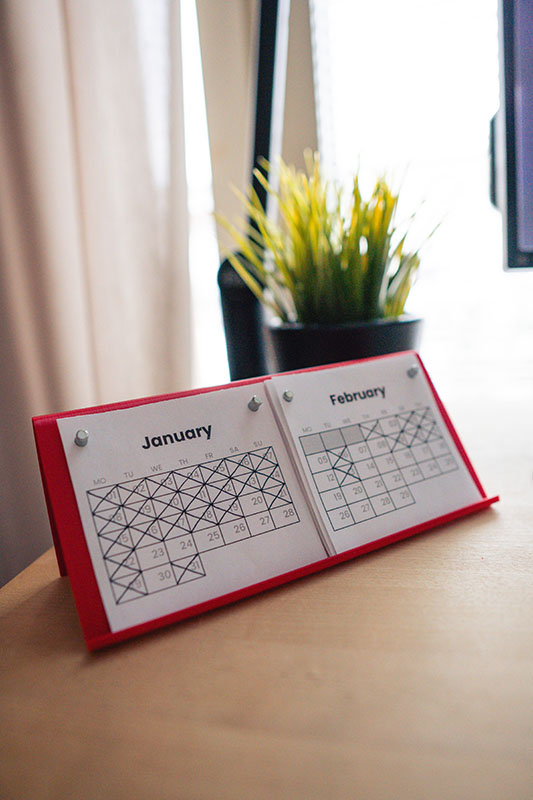
Going into this project I had an idea for a grand finale version of the excercise tracking system, but this solution has been in use for over 7 months now and I have no plans on building the last “Ultimate Fitness Tracking 3000” -version of it. It’s simple and its effective. It just works. So I’m keeping it (for now).
Over and out. Thanks for reading!
